


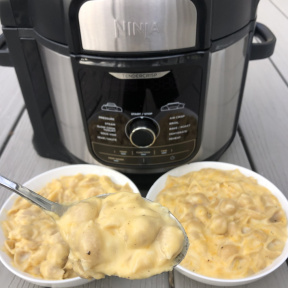
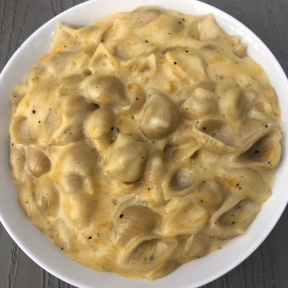
Pressure Cooker Mac & Cheese
Prep time
5 mins
Cook time
10 mins
Total time
15 mins
Ingredients
- 1 tbsp baking soda
- ½ cup lemon juice
- 4 cups water
- 12 oz GF dry pasta (I used shells)
- 1 cup heavy cream
- 1 tsp salt
- 1 tbsp ground black pepper
- 16 oz shredded cheese (I used cheddar & mozzarella but you can use any cheese you like!)
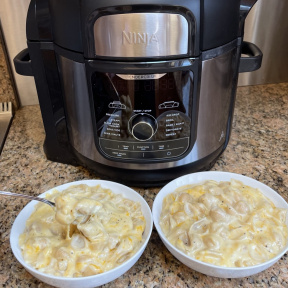
- Ninja Foodi Deluxe XL Pressure Cooker - recipe adapted from Ninja Kitchen recipes
Preparation
- Place baking soda & lemon juice in the pot. Stir until dissolved and bubbling has stopped.
- Add water and dry pasta, stirring to incorporate.
- Assemble pressure lid, making sure the pressure release valve is in the SEAL position. Select PRESSURE and set to low (LO). Set time to 0 minutes (the time the unit takes to pressurize is long enough to cook the pasta). Select START/STOP to begin
- When pressure cooking is complete, allow pressure to natural release for 7 minutes. After 7 minutes, quick release remaining pressure by moving the pressure release valve to the VENT position. Carefully remove the lid when the unit has finished releasing pressure.
- Add heavy cream, salt, and pepper.
- Add shredded cheese slowly so it doesn't clump. Add ⅓ of the cheese at a time and stir gently until adding more cheese.
- Stir well to melt cheese and combine all ingredients.
- Once the mac & cheese looks creamy, immediately transfer it to a serving dish. If the pasta stays in the cooking pot, it can overcook.
Rate this recipe